|
Home Made transfercase
here learn to make mods like a chop shop vet and yes i do include duct tape on the list.
|
|
|
Transfer case
DISCLAMER!!!!!!!!!!!! I am not responsible if you bomb your transmission doing this mod. Read the full mod befor attempting to besure you can do everything. This will alow the user to select 2(rear) and 4wd on comand for optimun driving conditions. parts required but not included in the stock trans: 3x yolk pins (M4/10) 1 NRustler/Nsport axel carrier(1952) tools: Drill, various sized bits, hack saw. A vice and bench grinder are optional and recomended but not required. |
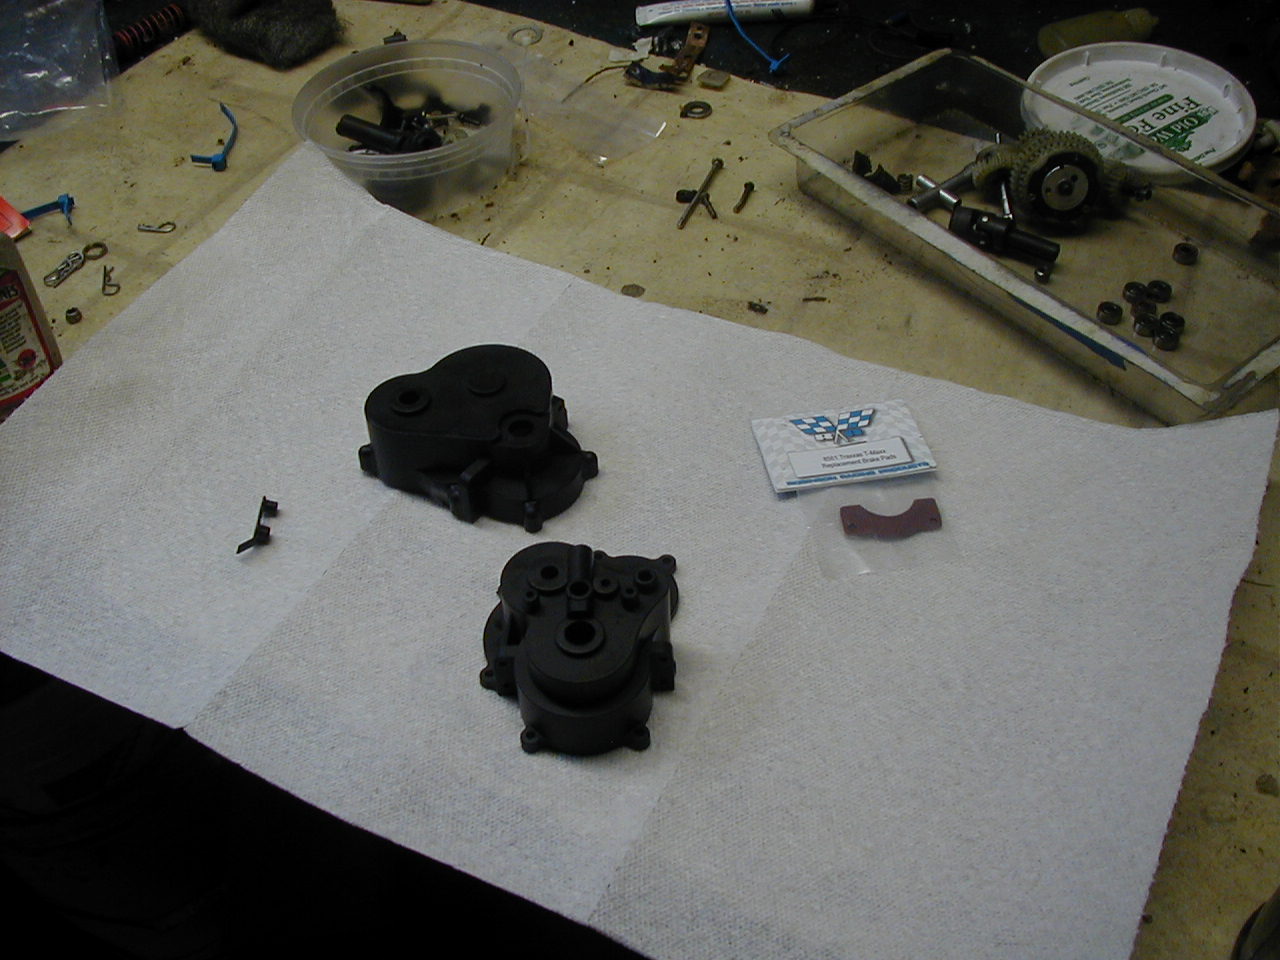
disassembal and clean.
You will want to start by disassembaling and cleaning the transmission. DO NOT take the center shaft with the 2 spd assembaly on it apart, this just creates problems.
|
|
|
|
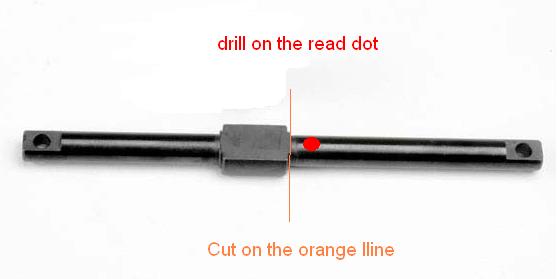
Cutting time.
Start be taking the bottem output shaft which sticks out both ends of the trans and placing it in the vice. Place it so the oval piece is just covered by the vice and the rear of the shaft is exposed. now taking the drill make a hole that will alow the non threaded part of the pin to fit through to make things easier when drilling place the pawl gear (4997) on the shaft and drill through it at the same time as the shaft to be positive the holes align. Make sure that the pawl gear is held in place and start drilling when this is acomplished cut the shaft at the edge of the oval. (See Figure) |
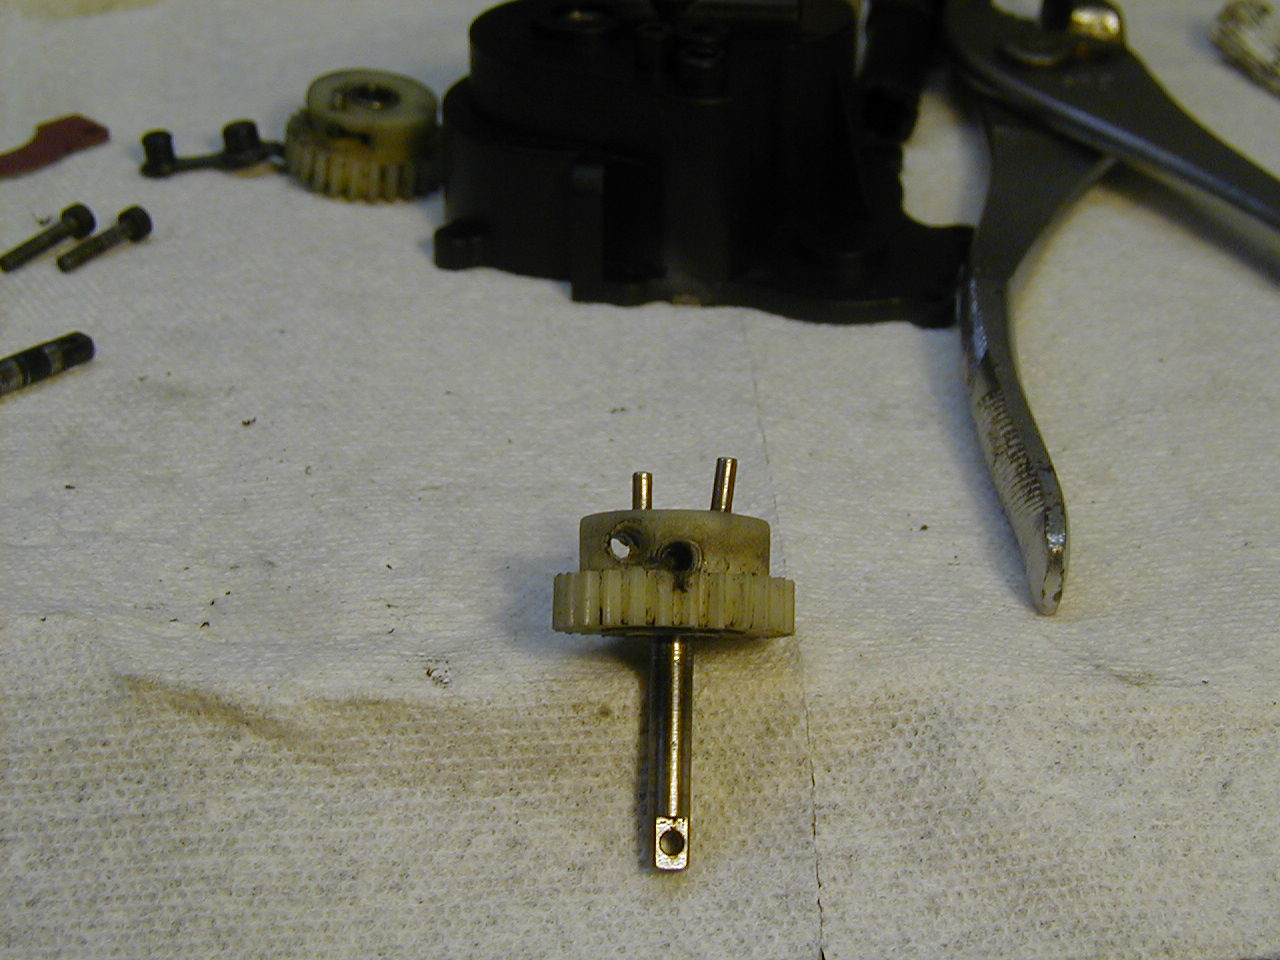
Making the drive gear.
this requires taking the same bit and puting 2 more holes in part 4997. Both have to sticking out so as to engage the bell in the trans that sits on the oval. The do not have to be perfictaly strait up and down but the closer the better so they share the load.( right)
|
|
|
|
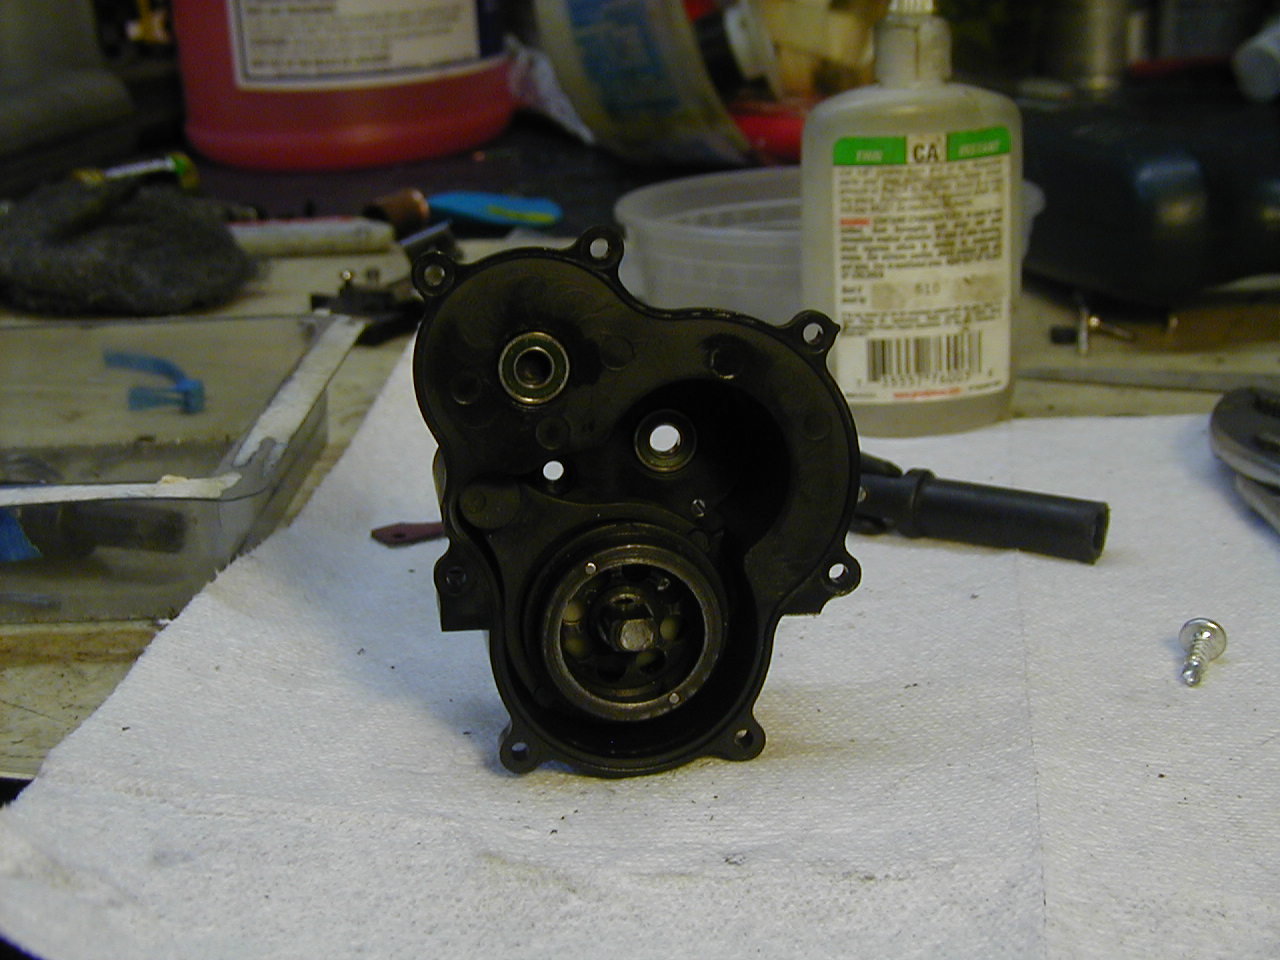
suporting the rear half
This is where you can get creative. The task is suporting the rear shaft. I used a hacked up axel carrier from a N/Sport I had laying around. when you have it cut lowenough and the bearing installed it works very well holding the proper mesh. I unfortunatly dont have any pics of mine but cut it first to fit in the bottem of the rear half so the shaft slided in easily while leaving some plastic sticking out to put a screw into on each side. now check the clearence by inserting the 2spd shaft and making sure it dosen't rub. this will take some time so be patient. once it all fits together screw the carrier in from the outside of the transmission. |
final modifications
The only moding left is to remove the clutch assembaly from both gears, so the front diff can be disengaged/ engagedon the fly. This will not harm the internal parts in any way. Infact its easier to shif while moving this way. To remove the clutches first unscrew the grub screws and remove the springs keeping tension on the pawls. Next using something thin push the pin, holding the clutch in, out and remove the clutch.
|
|
|
|
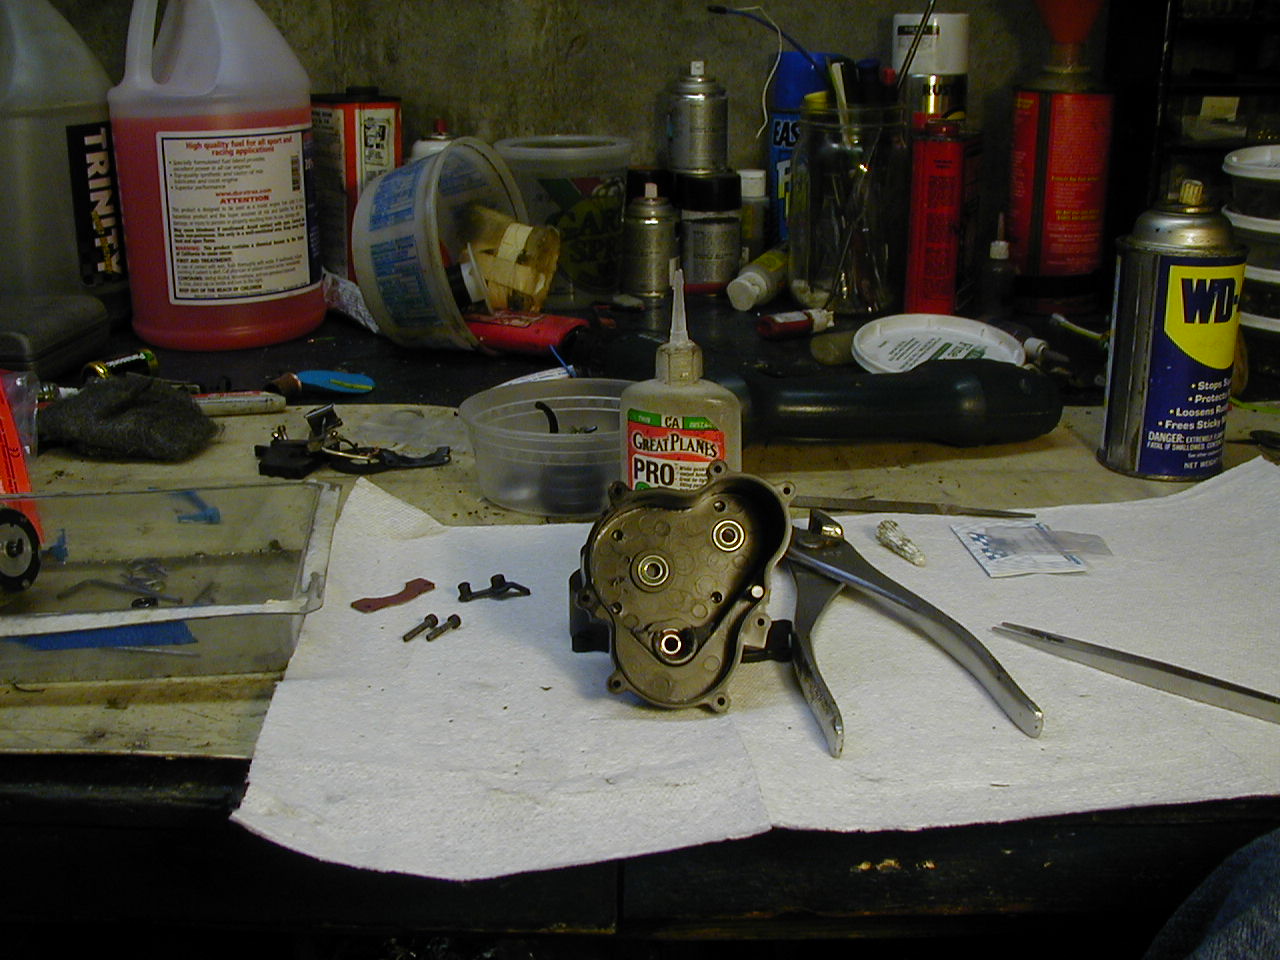
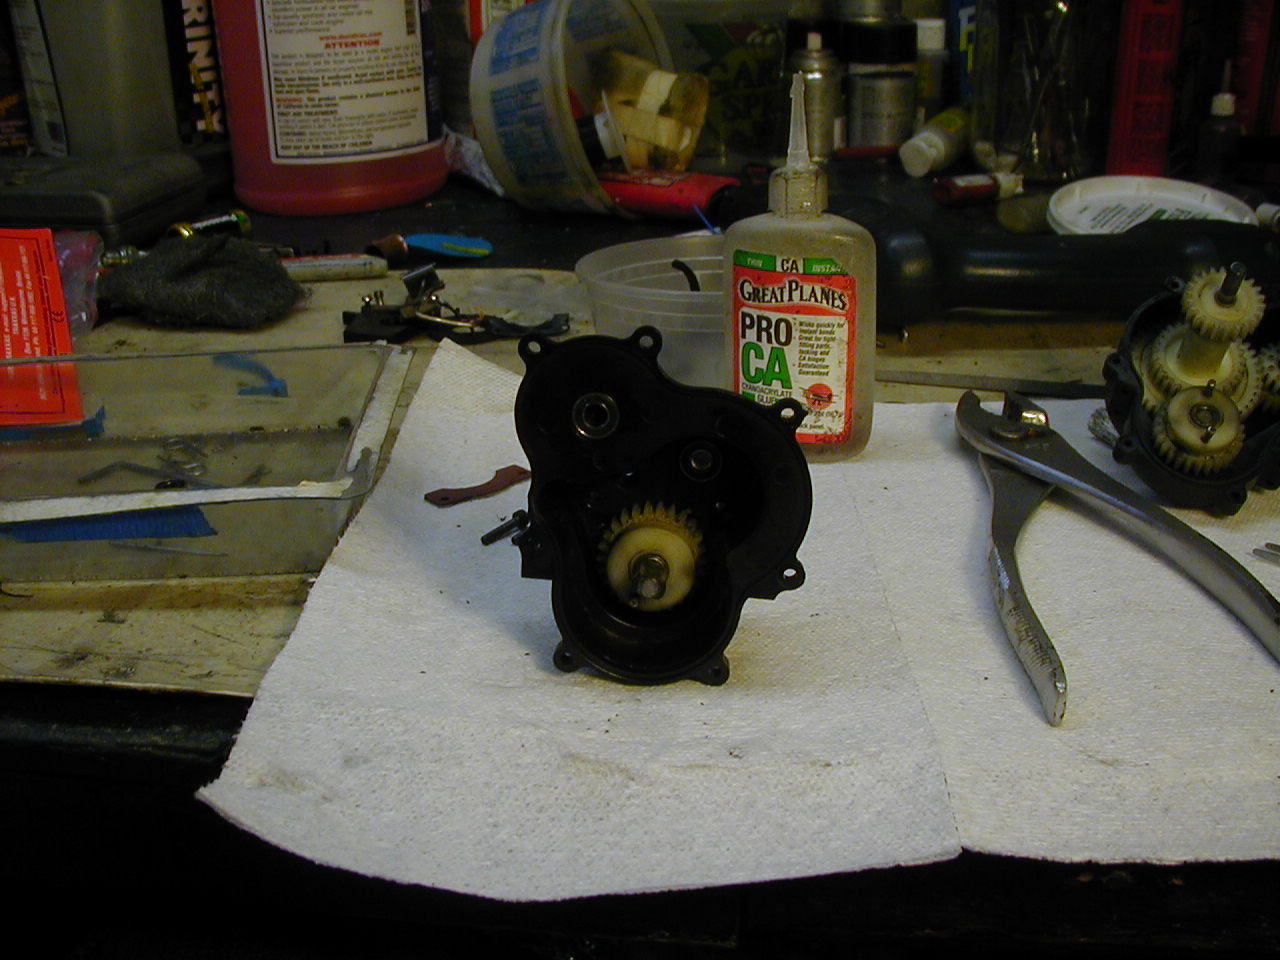
Assembaly
All thats left is to re assembal the transmission as it was befor. Just make sure to put the reverse gear in as a spacer but remove the idler so as not to power a useles gear. If you look closely in the backround on the pic to the left you can see the rest of the gears are already placed in the rear half. I found this easier to work with. |
|
|
|
|
|
|
|
|